 Are you tired of hearing how "simple" it is to deploy apps with Docker Compose, because your experience is more one of frustration? Have you read countless blog posts and forum threads that promised to teach you how to deploy apps with Docker Compose, only for one or more essential steps to be missing, outdated, or broken?
{{< partial "disclosure" >}}
For quite some time now, I've been using the Blue Yeti microphone from Blue Microphones, to record technical screencasts, my podcast. I think, was recommended to me by a friend, though I could have found it via an online review.
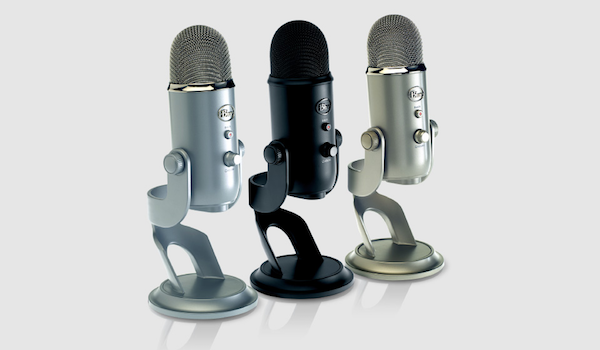
It's a nice looking microphone, as you can see in the screenshot above, one which is easy to setup, easy to use, one which is feature rich. Thanks to it being a USB microphone, once you've un-boxed it, all you need do is connect it to your computer un-mute it, and you're ready to record.
On the whole I liked it, and was quite proud of having it. Perhaps because the company has a very quirky sense of humour, one which is quite similar to my own. Perhaps because of the weight, build quality, and look and feel, I felt like I was a real professional.
But it never quite produced the audio quality which I needed. And this is despite investing a lot of time and money in educating myself about audio engineering, over the last 12 months.
I learned about such things as echo, gain, the difference between USB and XLR microphones, the difference between condenser and dynamic microphones, the acoustics of recording environments, how to position microphones and yourself in relation to them for best effect.
But the audio was never accepted by some firms who I produce technical training courses for. There was always some issue due to interference from electrical cabling or equipment, too much background noise, echo, or reverb picked up in the recordings. So despite learning so much, work-wise it was a really frustrating and distracting experience.
If someone from Blue's reading this, I want to be open and transparent with you. I'm not an audio expert, at least not yet, I'm a software engineer.
Given that, when I first started using the Yeti, you'd expect that there'd be problems, and challenges. This post isn't intended as a hack job. Blue mics are great, but they didn't give me the audio quality I needed.
After further discussion with audio and sound experts, in a range of online communities, the net result was that I was never going to get the audio quality I was after using the Yeti. So I decided to look around for a range of alternative options
These include some quite well known, and some lesser known brands. These include the Røde Podcaster and Procaster, the MXL 990, and the Heil PR 40. Looking briefly at each one, here's why I went with my ultimate choice.
The Røde Podcaster and Procaster
The Røde range is exceedingly popular, and some of the test samples I've heard are quite good. It's used by a number of well known podcasters, such as Andrew Warner of Mixergy. However, the feedback from experts I talked to, and reviews which I read online indicated that it likely wouldn't give me the quality I was after.
The Heil PR 40
Then there's the Heil PR 40. This is a microphone which seems to be the gold standard in podcasting, one which, when you're serious about the audio quality of your podcast, you're meant to upgrade to. It's the one all the big podcasters, such as Cliff Ravenscraft of Podcast Answer Man, and Pat Flynn of Smart Passive Income, and Michael Hyatt.
Whilst it may well be the gold standard, and all the audio samples I've heard are truly excellent, it also comes with a gold price tag, weighing in between €380 - 450.00.
What's more, both of these microphones, and the one I ultimately chose, are XLR microphones, not USB. Given that, in addition to buying the microphone, you need an equally good quality mixer, such as the Mackie 1402-VLZ4, which Cliff Ravenscraft recommends.
To me, whilst the Heil might be a fantastic mic, I don't think I'm ready for it yet. I almost did buy it, but I couldn't escape the feeling, the belief, that if you're going to use a top-end microphone, then you should know exactly how to use it.
If you don't, you're likely not going to get the most out of it. As I don't, at least not yet, I deferred to my microphone of choice.
The MXL 990
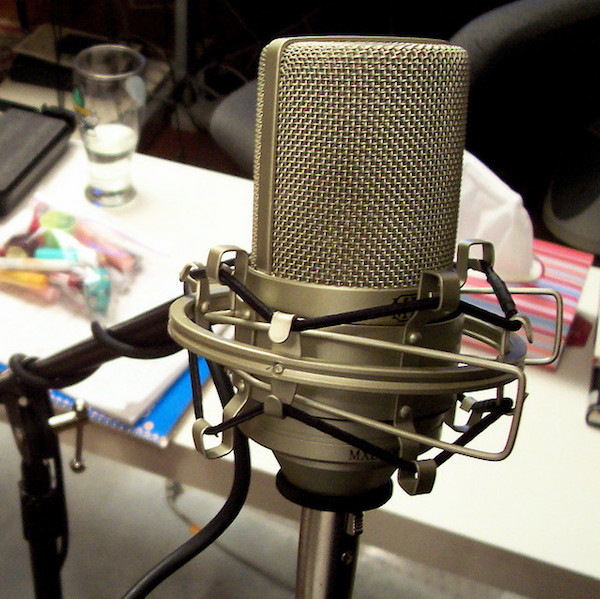
This one is one which one of my clients suggested, it's the MXL 990, which you can see above. Via a chance link, I was able to find a rather inexpensive, robust, and portable mixer to go with it; one which plugs directly in to my Macbook Pro, and requires next to no knowledge to operate.
It's called the Focusrite Scarlett Solo. Check out the video below for a demo which convinced me that it was the right one to go with (okay, along with all the recommendations and technical specifications).
With the choice made, I made the purchase. After it turned up, I'm pleased to report that it took under 10 minutes to both un-box and setup. Since then, I've recorded the intro to episode 7 of Free the Geek with it, as well as another audio sample for my client.
The audio quality of the podcast is something which I'm happy with, so long as it's improving with each episode. The quality for the client is something which needs to be right - soon.
So after submitting the sample, I've been bugging them a bit to get them to review it, so that I know if I truly have improved. Today, I'm excited to say that they've not only approved the audio quality, but they've given me the following feedback:
Sounds excellent, great job. You're definitely ready to get started creating your first course.
What more validation could you want?
What Did I Do Differently?
Honestly? Nothing. I have the mic in the same position which I'd previously had the Blue Yeti. The recording studio still has the same amount of acoustic treatment, though more is coming.
All I did was:
- Replace my old Blue Yeti microphone with the MXL 990. (Here's a more in-depth article on it, if you'd like to dive deeper.)
- Experiment a bit with the gain level
- Recorded my audio in Audacity.
- Did some post-production audio improvement in audacity, including removing unnecessary background noises using Audacity’s noise gate plugin.
- Exported the file to MP3.
That's it. I promise.
To me at least, it just goes to show what you can do when you use the right microphone, along with some self-education, and acoustic treatment. I'm very pleased with the progress and am looking forward to many more Pluralsight courses and podcast episodes with this new microphone setup.