Want to know how to deploy a PHP app to production (or any other remote environment)? In this tutorial, I’ll show you all the steps involved, and provide background information along the way, so you can build on what you’ll learn.
In part one of this series you learned how to dockerise a PHP application.
Then, in part two, you learned how to test apps running inside Docker containers.
Here in part three, I’m you’re going to learn, step by step, how to deploy the app to production.
This is going to be a lengthy post.
I won’t lie.
However, I’ve aimed to provide the most direct path to your first production deployment, as well as to structure it so that it’s easy to work through or navigate to the specific part you need.
Prerequisites
To follow along with this tutorial, you’re going to need the following, three, things:
Make sure you have them before you go any further.
Also, make sure you’ve at least read through part one, if you haven’t already.
Finish configuring the DigitalOcean Droplet
Before we dive in to the Docker aspect of the tutorial, you have finishing setting up the DigitalOcean droplet, so that the application can be deployed to it.
To do that, you need to do two things:
- Add and configure a deployment user
- Adjust the firewall’s rate limiting policy
Create a deployment user
First, copy the IP address of the new droplet.
You can find it in the Droplet’s list in your DigitalOcean account.
Then, ssh into the Droplet by running the command below.
Setting up the user requires them to be created and added to the docker group, so that they have permission to run Docker commands.
In addition, they’re going to need the SSH key(s) that were added to the default (root) user, so that you can login as them.
To do all of these things, run the commands below.
# Create the new user, named deploy, in a non-interactive way
adduser --home /home/deploy \
  --shell /bin/bash \
  --quiet deploy

# Add the deploy user to the docker group
usermod -aG docker deploy

# Copy the SSH key from root to deploy,
# setting the appropriate permissions on them
mkdir /home/deploy/.ssh/ \
  && cp -v .ssh/authorized_keys /home/deploy/.ssh/ \
  && chown -R deploy.deploy /home/deploy/.ssh \
  && chmod 600 /home/deploy/.ssh/authorized_keys
Now, log out of the droplet.
Set up SSH multiplexing
The final thing that you need to do is to set up SSH multiplexing.
If you’re not familiar with the term, quoting where I learned about it, SSH Multiplexing:
…permits multiple independent streams to run through the same TCP connection.
We need to do this, because the DigitalOcean droplet implements rate limiting, only allowing six connections from an IP address within a 30 second period.
Like most rate limiting, it is intended to provide a basic line of defense against DoS (Denial of Service) attacks.
Because of this limit the deployment will fail, as Docker Compose will open more than six connections within a 30 second period.
To get around the rate limit — while not removing it — we’ll use SSH Multiplexing.
To do that, first, create a new directory named controlmasters in ~/.ssh.
Then, in .ssh/config, add the following configuration, replacing <<Droplet IP Address>> with the IP address of your droplet.
Host <<Droplet IP Address>>
    ControlPath ~/.ssh/controlmasters/%r@%h:%p
    ControlMaster auto
    ControlPersist 10m
Build self-contained images
The next thing we need to do is to build images for the NGINX, PHP, and database containers.
This is because they need to be self-contained.
Locally, this isn’t an issue, because we can mount the necessary files from the local filesystem.
However, we can’t do this in a remote environment, such as production.
To build the images, we’ll use the docker build command.
To the command, we’ll supply three arguments:
--file: This is the path to the image’s Dockerfile. This is required as the Dockerfile is not located in the directory where the docker build command will be run.--tag: As the option’s name implies, it tags, or categorises the image. Tags support up to four pieces of information, separated by a slash. These are:
- The namespace. This is the image repository or hosting service to use, if specified, such as Digital Ocean’s Container Registry.
By default, it’s set to
library, and refers to Docker Hub.
- The repository. This is, effectively, your account on the hosting service.
- The image’s unique name.
- The image’s tag. This is typically the image’s version or variant.
.: The image’s contents (or context); All the commands will run relative to that directory.
In the top-level directory of the cloned demo application, run the following commands to build the images, after replacing <<Username>> with your Docker Hub username:
# Build the NGINX image
docker build \
  --file ./docker/nginx/Dockerfile \
  --tag <<Username>>/demo-app-nginx:1.0.0 \
  .

# Build the PHP image
docker build \
  --file ./docker/php/Dockerfile \
  --tag <<Username>>/demo-app-php:1.0.0 \
  .

# Build the database image
docker build \
  --file ./docker/database/Dockerfile \
  --tag <<Username>>/demo-app-database:1.0.0 \
  .
I strongly encourage you to follow semantic versioning when choosing tag names — unless you want to cause yourself lots of pain and heartache later.
By tagging images with semantic versioning, it’s easy enough to roll back to a specific release, when required.
When you run the command, you’ll see output similar to the following:
Sending build context to Docker daemon  34.3 kB
Step 1/6 : FROM php:7.0-apache
 ---> 23f9c84560a6
Step 2/6 : WORKDIR /var/www/html
 ---> Using cache
 ---> 6fd5d5375996
Step 3/6 : COPY ./ /var/www/html/
 ---> 3f4313a5bb2d
Removing intermediate container cc38a34f844b
Step 4/6 : COPY ./docker/default.conf /etc/apache2/sites-enabled/000-default.conf
 ---> ad8ba9e7bf7f
Removing intermediate container ac39c49311ad
Step 5/6 : EXPOSE 80
 ---> Running in 4c71b935da37
 ---> eb836808c859
Removing intermediate container 4c71b935da37
Step 6/6 : RUN docker-php-ext-install pdo_mysql     && docker-php-ext-install json
 ---> Running in 25ffa117cf19
+ cd pdo_mysql
+ phpize
All being well, the last piece of output that you’ll see, when building each image, is something similar to:
Successfully built 51cc061b52d8
This confirms that the image was built successfully.
For example, you might be building the images on macOS with an Apple M1 Pro chip but deploying to Linux with an AMD64 chip.
In that case, you’ll need to build the image with cross-platform support.
Otherwise, the deployment will fail.
View the images in the local image cache
We can doubly confirm that the images were built by running the command below — after replacing the placeholder (<<YOUR DOCKER HUB USERNAME>>) with your Docker Hub username.
docker images --filter=reference='<<YOUR DOCKER HUB USERNAME>>/demo-app*'
This should result in output similar to the following:
REPOSITORY                    TAG       IMAGE ID       CREATED      SIZE
settermjd/demo-app-database   1.0.0     3b5fd8f0f1a4   3 days ago   528MB
settermjd/demo-app-php        1.0.0     e2f232120f67   3 days ago   750MB
settermjd/demo-app-nginx      1.0.0     12af65156e26   3 days ago   706MB
Test the production deployment locally
Now that the images are successfully built, we need to test them, just like we’d test our code.
We can do this by running them, or deploying them locally.
You could also run security scans on them.
But, that’s for a future tutorial.
To run them, we first need to make some changes to the Docker Compose configuration that we created in part one of this series.
Specifically, we’re going to make the following changes:
- Create a development-specific configuration file and move the development-specific settings there
- Create a production-specific configuration file and add the production-specific settings to it
We’ll start off with development-specific file.
Create a new file named docker-compose.dev.yml, and add the following configuration to it.
services:

  nginx:
    image: nginx:1.25.3-alpine
    ports:
      - 8080:80
    volumes:
      - ./docker/nginx/default.conf:/etc/nginx/conf.d/default.conf
      - .:/var/www/html

  php:
    build:
      dockerfile: docker/php/Dockerfile
    volumes:
      - .:/var/www/html

  database:
    build:
      dockerfile: docker/database/Dockerfile
    ports:
      - "3306:3306"
This file contains the port mappings for the NGINX and database containers because the NGINX container will use port 80 in production and there should be no external access to the database container in production.
Secondly, the NGINX container has the configuration file and all of the application’s source files mapped from the local development machine — something which isn’t possible in production.
The rest is as before.
Then, update compose.yml to match the following configuration.
services:
  database:
    volumes:
      - database_data:/var/lib/mysql

volumes:
  database_data:
    driver: local
Because of docker-compose.dev.yml, compose.yml is now extremely small.
All it contains is a minimal definition of the database container, and a persistable filesystem volume, so that the changes to the database are persisted after container restarts.
Then, create a new file named docker-compose.prod.yml, and add the following configuration.
services:
  nginx:
    image: settermjd/demo-app-nginx:1.0.0
    ports:
      - 80:80

  php:
    image: settermjd/demo-app-php:1.0.0

  database:
    image: settermjd/demo-app-database:1.0.0
    environment:
      - MARIADB_ROOT_PASSWORD
      - MARIADB_DATABASE
      - MARIADB_USER
      - MARIADB_PASSWORD
Finally, docker-compose.prod.yml configures each service to use its respective image, maps port 80 on the php container to port 80 on the host, and changes how the database container’s environment variables are set.
When defined this way, they’ll be set from environment variables of the same name, which will be defined shortly.
Now that the configuration files have been updated, it’s time to take advantage of Docker Compose’s other, default, configuration file: docker-compose.override.yml.
If this file is present, Docker Compose will merge its configuration with compose.yml.
Any settings that exist in the latter file will override those in the former.
All other settings will be added to the existing configuration.
We’ll take advantage of symlinks to avoid creating a copy of either one of the environment-specific files, by running the command below.
ln -s docker-compose.prod.yml docker-compose.override.yml
Now, deploy the application locally, to test that it works, with the following command.
export MARIADB_ROOT_PASSWORD=password
export MARIADB_DATABASE=hawaii-five-0
export MARIADB_USER=user
export MARIADB_PASSWORD=password

docker compose up -d
When the console output’s stopped scrolling, open your browser to http://localhost:80, and behold the majesty, the grandeur, the sheer brilliance that is the demo app.
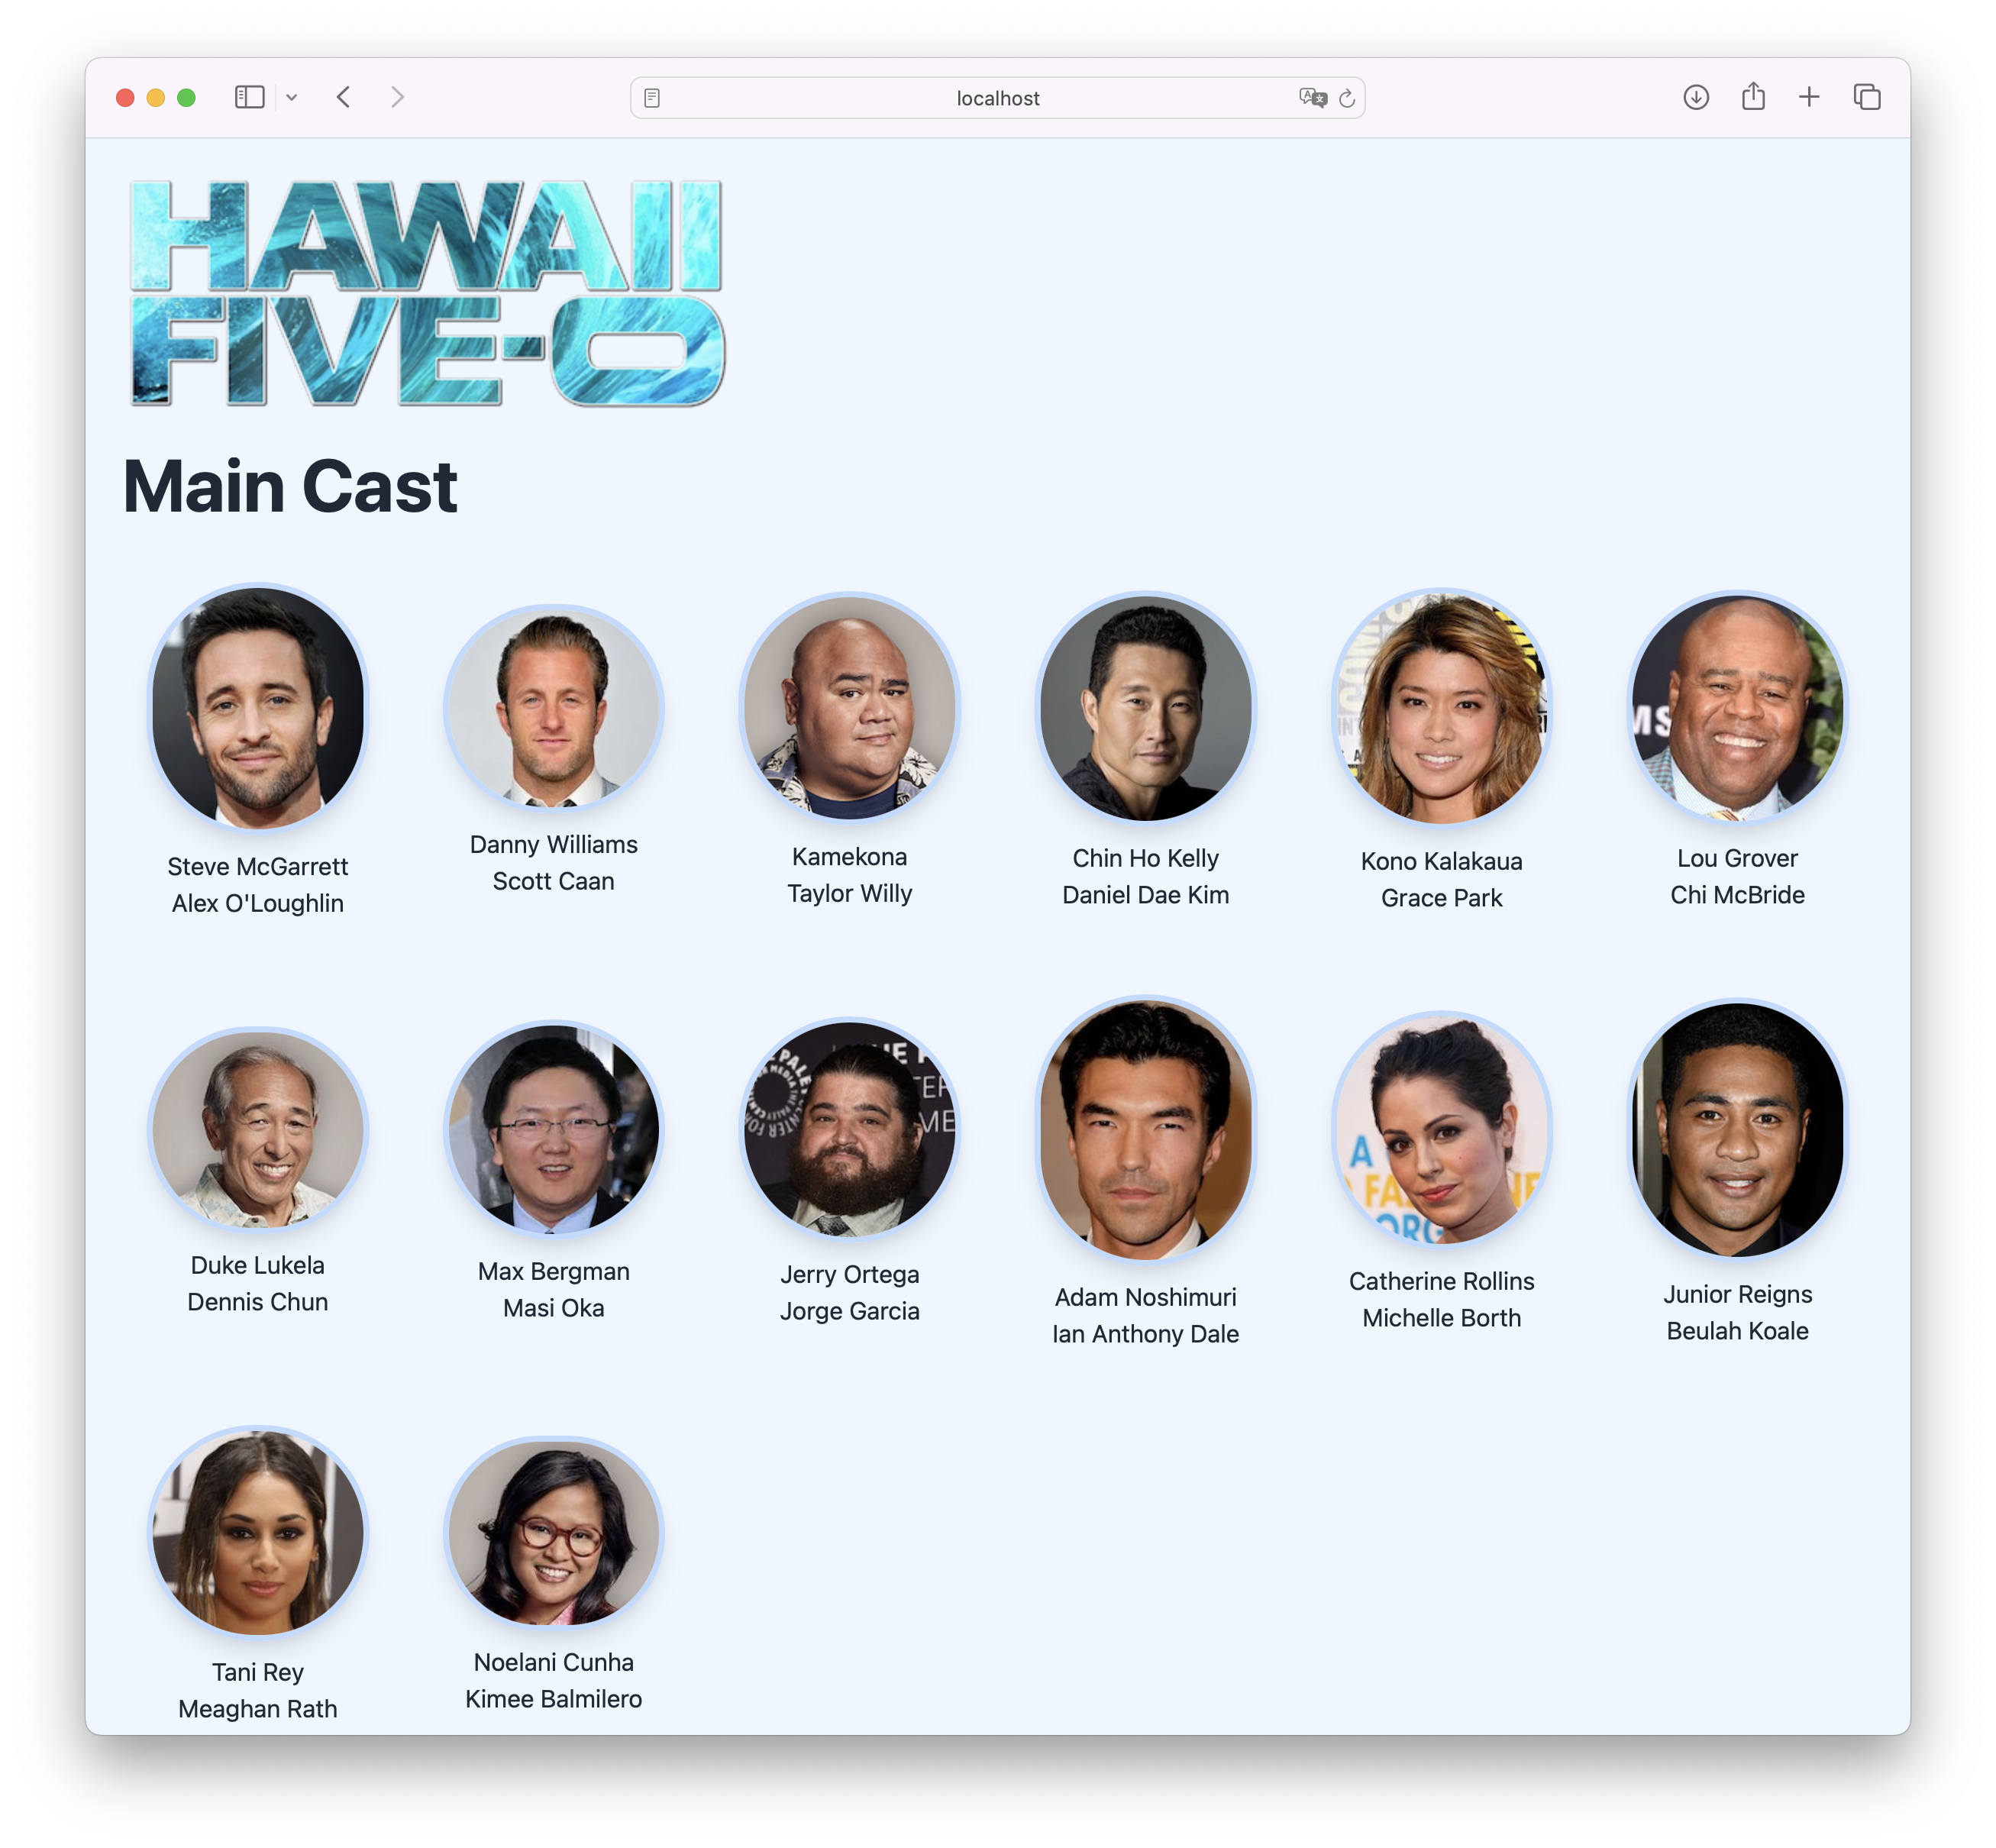
OK, it’s not that special.
But it works.
Given that, shut the application down, as we no longer need to run it locally.
Push the images to a publicly accessible image registry
It’s now time to store the images in a publicly accessible image registry.
That way, any deployment can use them.
This is where the Docker Hub account comes in.
We have first to log in, so that we’re authenticated to use the account.
We do that by running docker login, providing our Docker Hub username and password when prompted.
With that done, we now need to push the images to Docker Hub.
We’ll use the docker push command to do that.
Run the commands below — after replacing the placeholder (<<YOUR DOCKER HUB USERNAME>>) with your Docker Hub username
docker push <<YOUR DOCKER USERNAME>>/demo-app-php:1.0.0
docker push <<YOUR DOCKER USERNAME>>/demo-app-nginx:1.0.0
docker push <<YOUR DOCKER USERNAME>>/demo-app-database:1.0.0
This time, as you can see in the commands above, we pass the <account>/<imagename>:<tagname> that we used when building the images earlier.
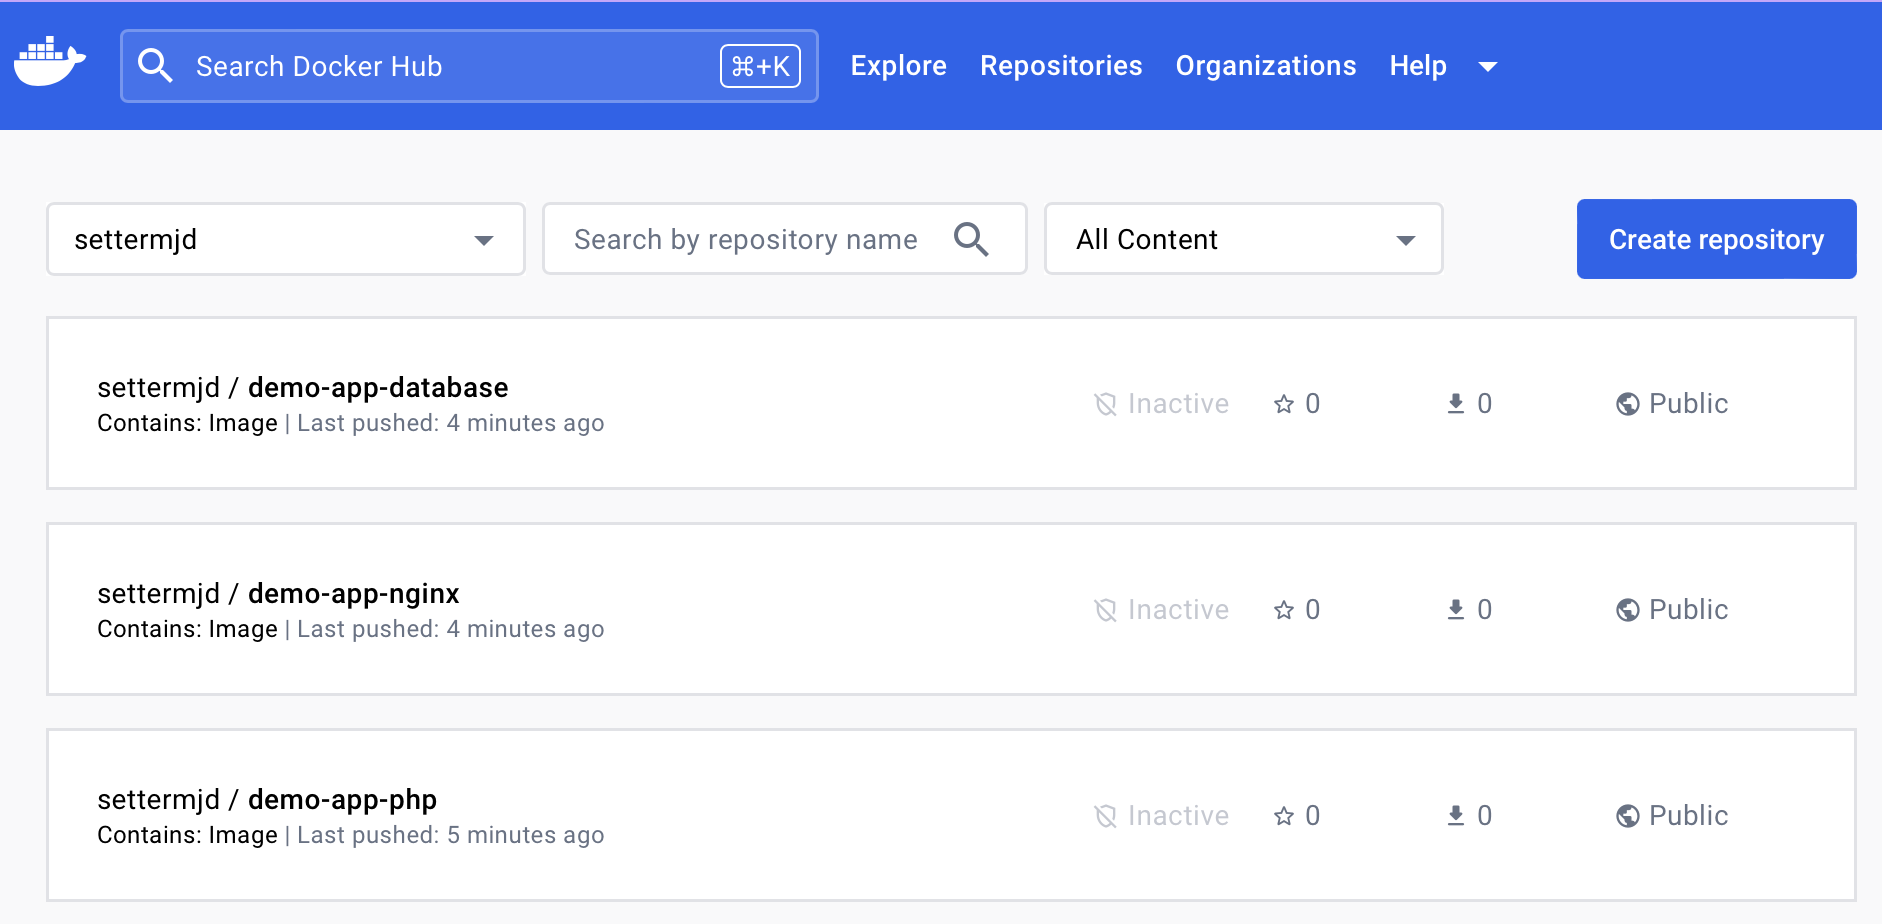
When the commands complete, if you want to be sure, login to your account and see that they’re now listed in your repository, as you can see in the screenshot below.
Do you need to get your head
around Docker Compose
quickly?
What about needing to dockerize existing applications to make them easier to
deploy, reducing the time required for developers to get started on projects, or learning how to debug
an existing Docker Compose-based app? Then this free book is for you!
Deploy the app to production
All right, we’re ready to deploy to production!
Set the Docker daemon to use
Before we can do that, though, we have to tell the local Docker client to use the Docker daemon in the DigitalOcean Droplet.
By default, Docker runs through a non-networked UNIX/Linux socket.
However, another nice benefit of the DigitalOcean droplet is that it’s configured to be available using SSH.
To connect to it, we’re going to use a Docker Context.
If you’re not familiar with the term, the Docker Context documentation describes it this way:
A single Docker CLI can have multiple contexts. Each context contains all of the endpoint and security information required to manage a different cluster or node. The docker context command makes it easy to configure these contexts and switch between them.
In short, it’s a tidy way of telling the Docker client which daemon to talk to.
However, before we can use a Context, we have to first create it, then set it as the current one.
To do that, run the two commands below, after replacing <<YOUR_DIGITALOCEAN_DROPLETS_IP>> with the IP address of your droplet.
# Create a new context pointing to the remote DigitalOcean droplet
docker context create production \
    --docker "host=ssh://deploy@<<YOUR_DIGITALOCEAN_DROPLETS_IP>>"

# Set the new context as the default
docker context use production
Now, check that the new context is being used, by running docker context ls.
If it is, then you’ll see it in the list, with an asterisk (*) after its name in the NAME column, as in the (abridged) example below.
NAME      TYPE  DESCRIPTION            DOCKER ENDPOINT
default   moby  Current DOCKER_HOST... unix:///var/run/docker.sock
remote *  moby                         ssh://deploy@<your_digitalocean_droplets_ip>
As it has been set successfully, any Docker commands you run from this point will communicate with the Docker daemon running on the droplet, not the daemon running on your local development machine.
Deploy the application to production
We’re now ready to deploy the application.
To do that, run the commands below.
# Export the required environment variables for Docker Compose
export MARIADB_ROOT_PASSWORD=password
export MARIADB_DATABASE=hawaii-five-0
export MARIADB_USER=user
export MARIADB_PASSWORD=password

# Deploy the application to production on the DigitalOcean droplet
docker compose up -d
As with running Docker Compose in development, you should see the containers start.
However, this time they’ll be starting on the remote Docker daemon in the DigitalOcean droplet.
Keep in mind that it may take a bit of time for the remote host to download the images for the first time.
However, after that, the application should start reasonably quickly.
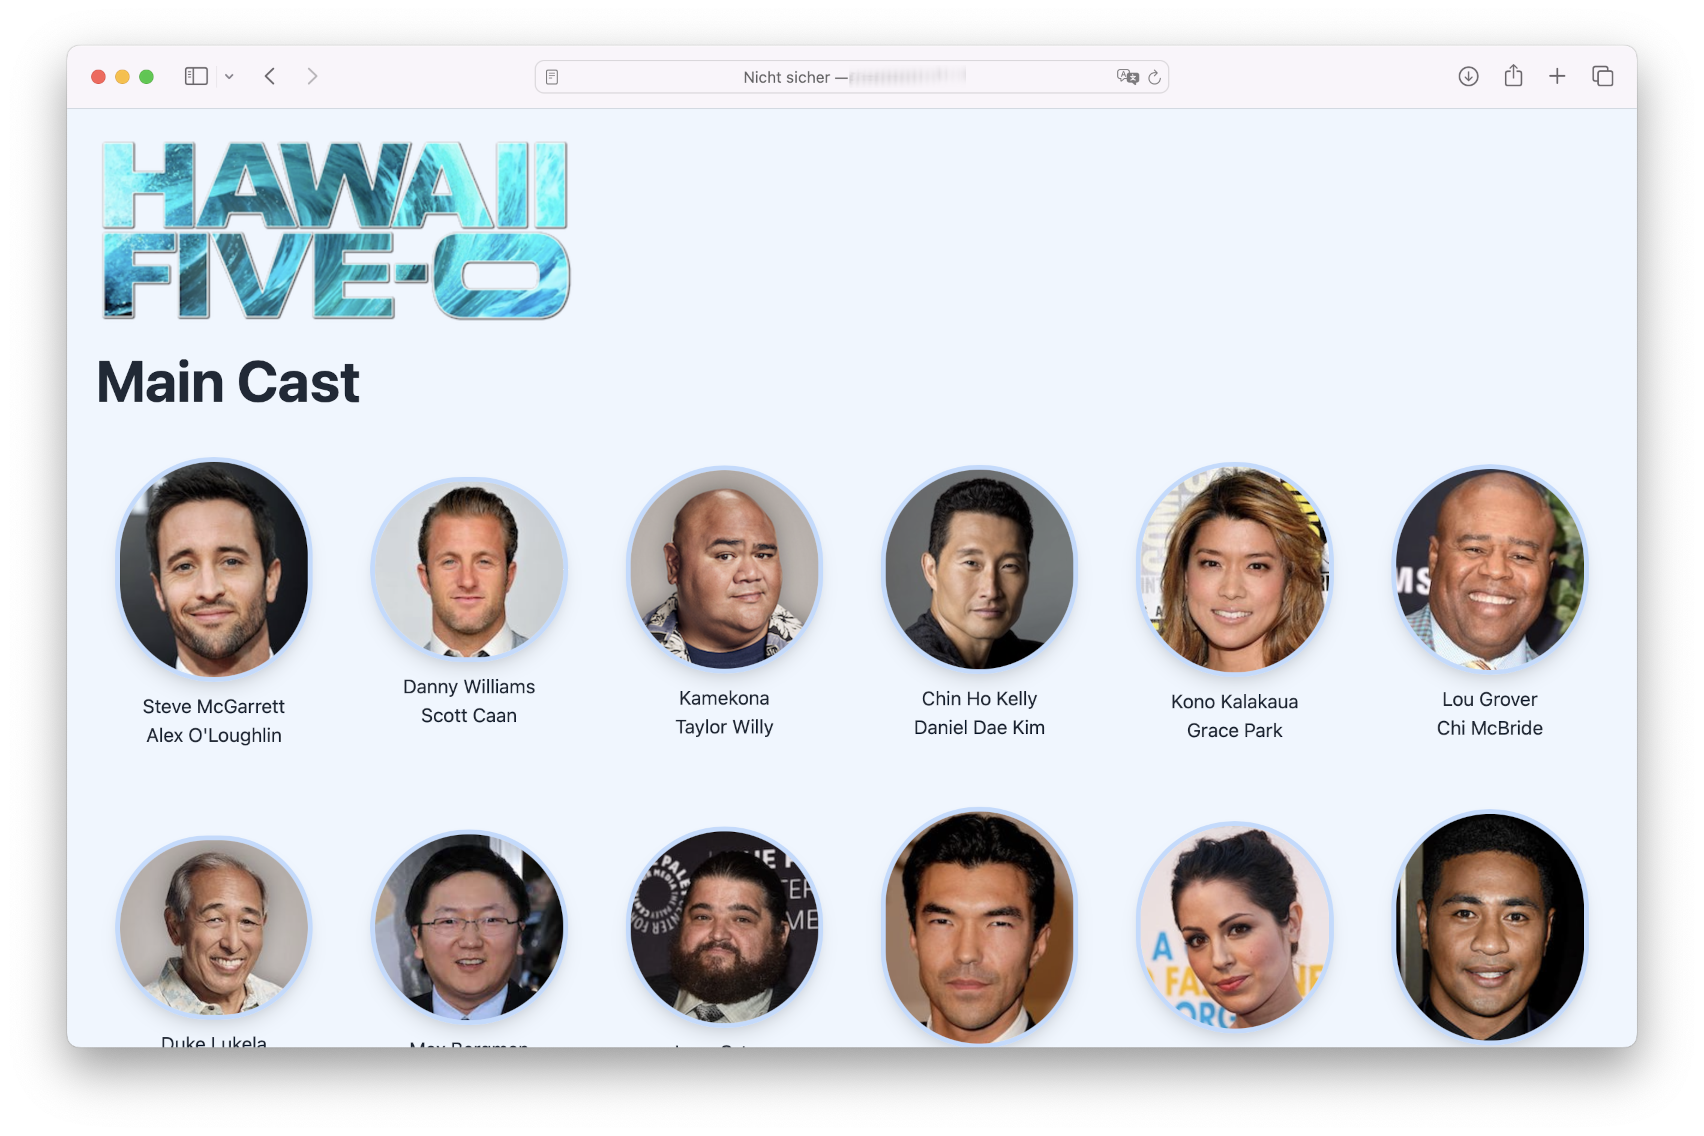
When it’s done, we’ll then be able to access our deployed application!
And here’s what mine looks like:
With the application working as expected, run the following command to undeploy it.
Then, to return to the default Docker context (your development machine), run the following command.
docker context use default
That’s how to deploy a PHP app to production with Docker Compose
And that’s the end of the tutorial.
Yes, there were quite a number of steps — perhaps too many.
But, we’re done!
To be fair, I’ve taken some shortcuts to keep the post as short as possible.
Given that, there are a number of things that I’ve not covered, such as:
- How to create more sophisticated images
- How to create a more sophisticated deployment configuration, e.g., using HTTPS with a free TLS certificate from Let’s Encrypt
- The security implications of the containers we’ve deployed (they don’t use HTTPS and don’t send any security headers)
- How to roll back or update a release (it’s a little complicated with Docker Compose)
However, for a simple, initial example, it’s sufficient.
I’m planning to expand on this post in future posts.
However, I didn’t want to overwhelm you today.
Regardless, I hope that you’ve been able to follow the instructions here successfully, and in the process learned a lot.
If you’ve had any problems, want to know more, or want to suggest other ways to do it, add your feedback in the comments.


Join the discussion
comments powered by Disqus