A friend asked me recently what the essential tools are that I use to create online courses and podcasts. In this post, I detail them, along with why they are the ones that I use.
Disclosure: I recommend some products in this post, some of which contain affiliate links.
This means that I may receive a commission if you click a link and purchase something that I’ve recommended.
Hey, you have to pay for website hosting somehow.
Right?
Please check out my disclosure policy for more details.
Creating online courses and podcasts might seem like a pretty complicated affair, if you’ve never created one before or you’re still pretty new at doing so.
However, you don’t need to spend a lot or money acquiring loads of high-end software and hardware to create great content.
In reality, a few well chosen pieces of software and hardware, along with some basic knowledge and practice will be all that you need.
In this post, I’m going to show you the tools that I use, why I use them, and how much each one cost.
When I first set out to create my first online course, I had images in my mind of large mixing desks at concerts, of top-end microphones, and of a computer setup that would make a Hollywood graphics department jealous.
Consequently, I purchased a vast array of software, including audio levellers, image editors, and annotation tools.
I longed for the day that I could afford top-shelf tools, such as Adobe Audition for audio editing and Final Cut Pro for video editing.
In addition, I spent endless hours researching and comparing all manner and combination of microphones and mixers, including the Heil PR40 microphone, and the Beringer X mixer.
People have said that these were must haves, if I wanted truly professional sound.
But, in reality, I’ve never used these tools, have never needed them, and don’t see that fact changing.
With the simple hardware and software combination which I’ve used over the years, I’ve consistently received lots of excellent feedback about the quality about the content which I’ve created a number of courses, whether short-form content for TutsPlus, or long-form content for Pluralsight, and podcasts.
So, today, I’m going to tell you exactly what I use, why, and how much each item cost.
By the time you’re finished reading, I think you’ll be pleasantly surprised at just how little you need, and how little you need to pay.
No, they’re not the cheapest options available (some are), but a little investment goes a long way.
I’ve broken it down into the following 4 categories:
Feel free to jump to the section(s) that most interest you, or to read the post from top to bottom; whichever works better for you.
A Good Quality Microphone - The MXL 990
The absolute first thing that you need to invest in, is a decent quality microphone.
You don’t have to buy the most expensive one.
However — unless you absolutely are on a shoestring budget — you need more than a headset microphone (if you want good quality audio).
Why?
If you take nothing else away from this post, then let it be this:
You can always improve good quality input. However, even the best tools will struggle to improve bad quality input.
I started out with the Blue Yeti and, for the most part, really liked it.
It’s a solidly made, USB microphone.
Given that, it works on Linux, macOS, and Windows, and can take a bit of wear and tear.
However, I always had a low-level hum in the audio which I recorded with it, which I couldn’t completely get rid of.

Looking back, it might well have been some un-shielded wiring in my studio.
So, after a bit of research, I switched to the MXL 990 microphone.
It’s an XLR microphone, so it needs what’s called phantom power, to power it.
As it’s an XLR microphone, it’s not quite as rugged as the Yeti.
However, virtually as soon as I started using it, the comments which I received about the audio I was creating noticeably improved.
Other microphones, such as the Heil PR40 have a more studio-quality sound.
But, with a little bit of post-production editing in Audacity, I’ve always compensated for what the MXL 990 doesn’t provide out of the box.
Total Cost: $99.95 - 208.99
A Good Quality Mixer - The Focusrite Scarlett Solo
Since the MXL 990 is an XLR microphone, I had to buy a mixer to provide it with what’s called phantom power.
This is …
After a bit of reading, I settled on the Focusrite Scarlett Solo mixer, which you can see in the screenshot below.
Was it what you were expecting?
I’d suggest not, as, depending on what you’re used to seeing, it might seem simplistic, perhaps even amateurish.
But it’s not!
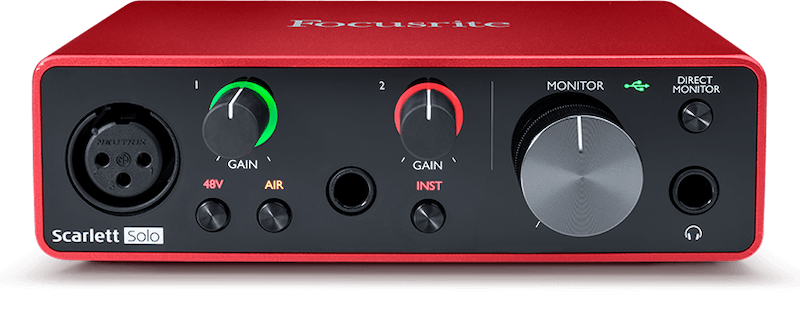
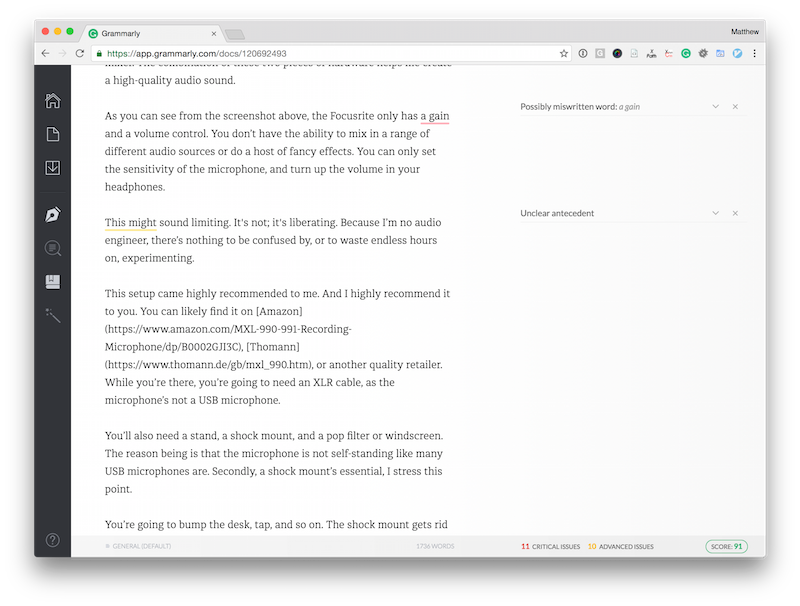
As you can see, it’s quite spartan in design, and quite small, sporting only a gain and a volume control.
You can only combine two input sources, set the sensitivity of the microphone, and turn up the volume in your headphones.
This might sound limiting.
But it’s not.
It’s liberating.
If you’re not an audio engineer (I’m not either), and you buy an expensive mixer, odds are you’ll end up wasting endless hours fiddling, experimenting, and playing around, rather than creating content.
Worst case scenario, you’ll likely feel overwhelmed by all of the options which you know nothing about, that you don’t create any content at all, and completely waste your money.
So, unless you plan to become an audio engineer, I wholeheartedly recommend the Focusrite Scarlett Solo if you want a durable, high quality, mixer; one that will last you for years, as it has for me.
You’ll have it setup in under 5 minutes (tops of 10), and it won’t break the bank.
Total Cost: $109.00
A Microphone Stand, Shock Mount, and a Pop Filter
Once you’ve bought a good quality microphone and mixer, do yourself a favour and invest in a microphone stand, a shock mount, and a pop filter or windscreen.
The shock mount can significantly reduce bumps, taps, and other little vibrations that the microphone will pick up.
The microphone stand will let you quickly move the microphone around until you find the spot that’s just right to record with.
And the pop filter or windscreen will reduce what are called plosives.
These are the hard P’s and S’ when we speak.
I recommend the Røde PSA-1 microphone stand and the MXL WS-001 windscreen.
The Røde is a little expensive, I’ll grant you that, but the build quality is excellent.
I’ve never had a problem with it in all the years that I’ve owned it.
I recommend the MXL WS-001 windscreen, as it’s the only one that fits the MXL990 properly.
As for pop filters, I don’t have a specific recommendation, as they can all attach to virtually any microphone stand.
With that setup, prepare to make some great audio.
Total Cost: $70.00+
Audio Editing Software - Audacity
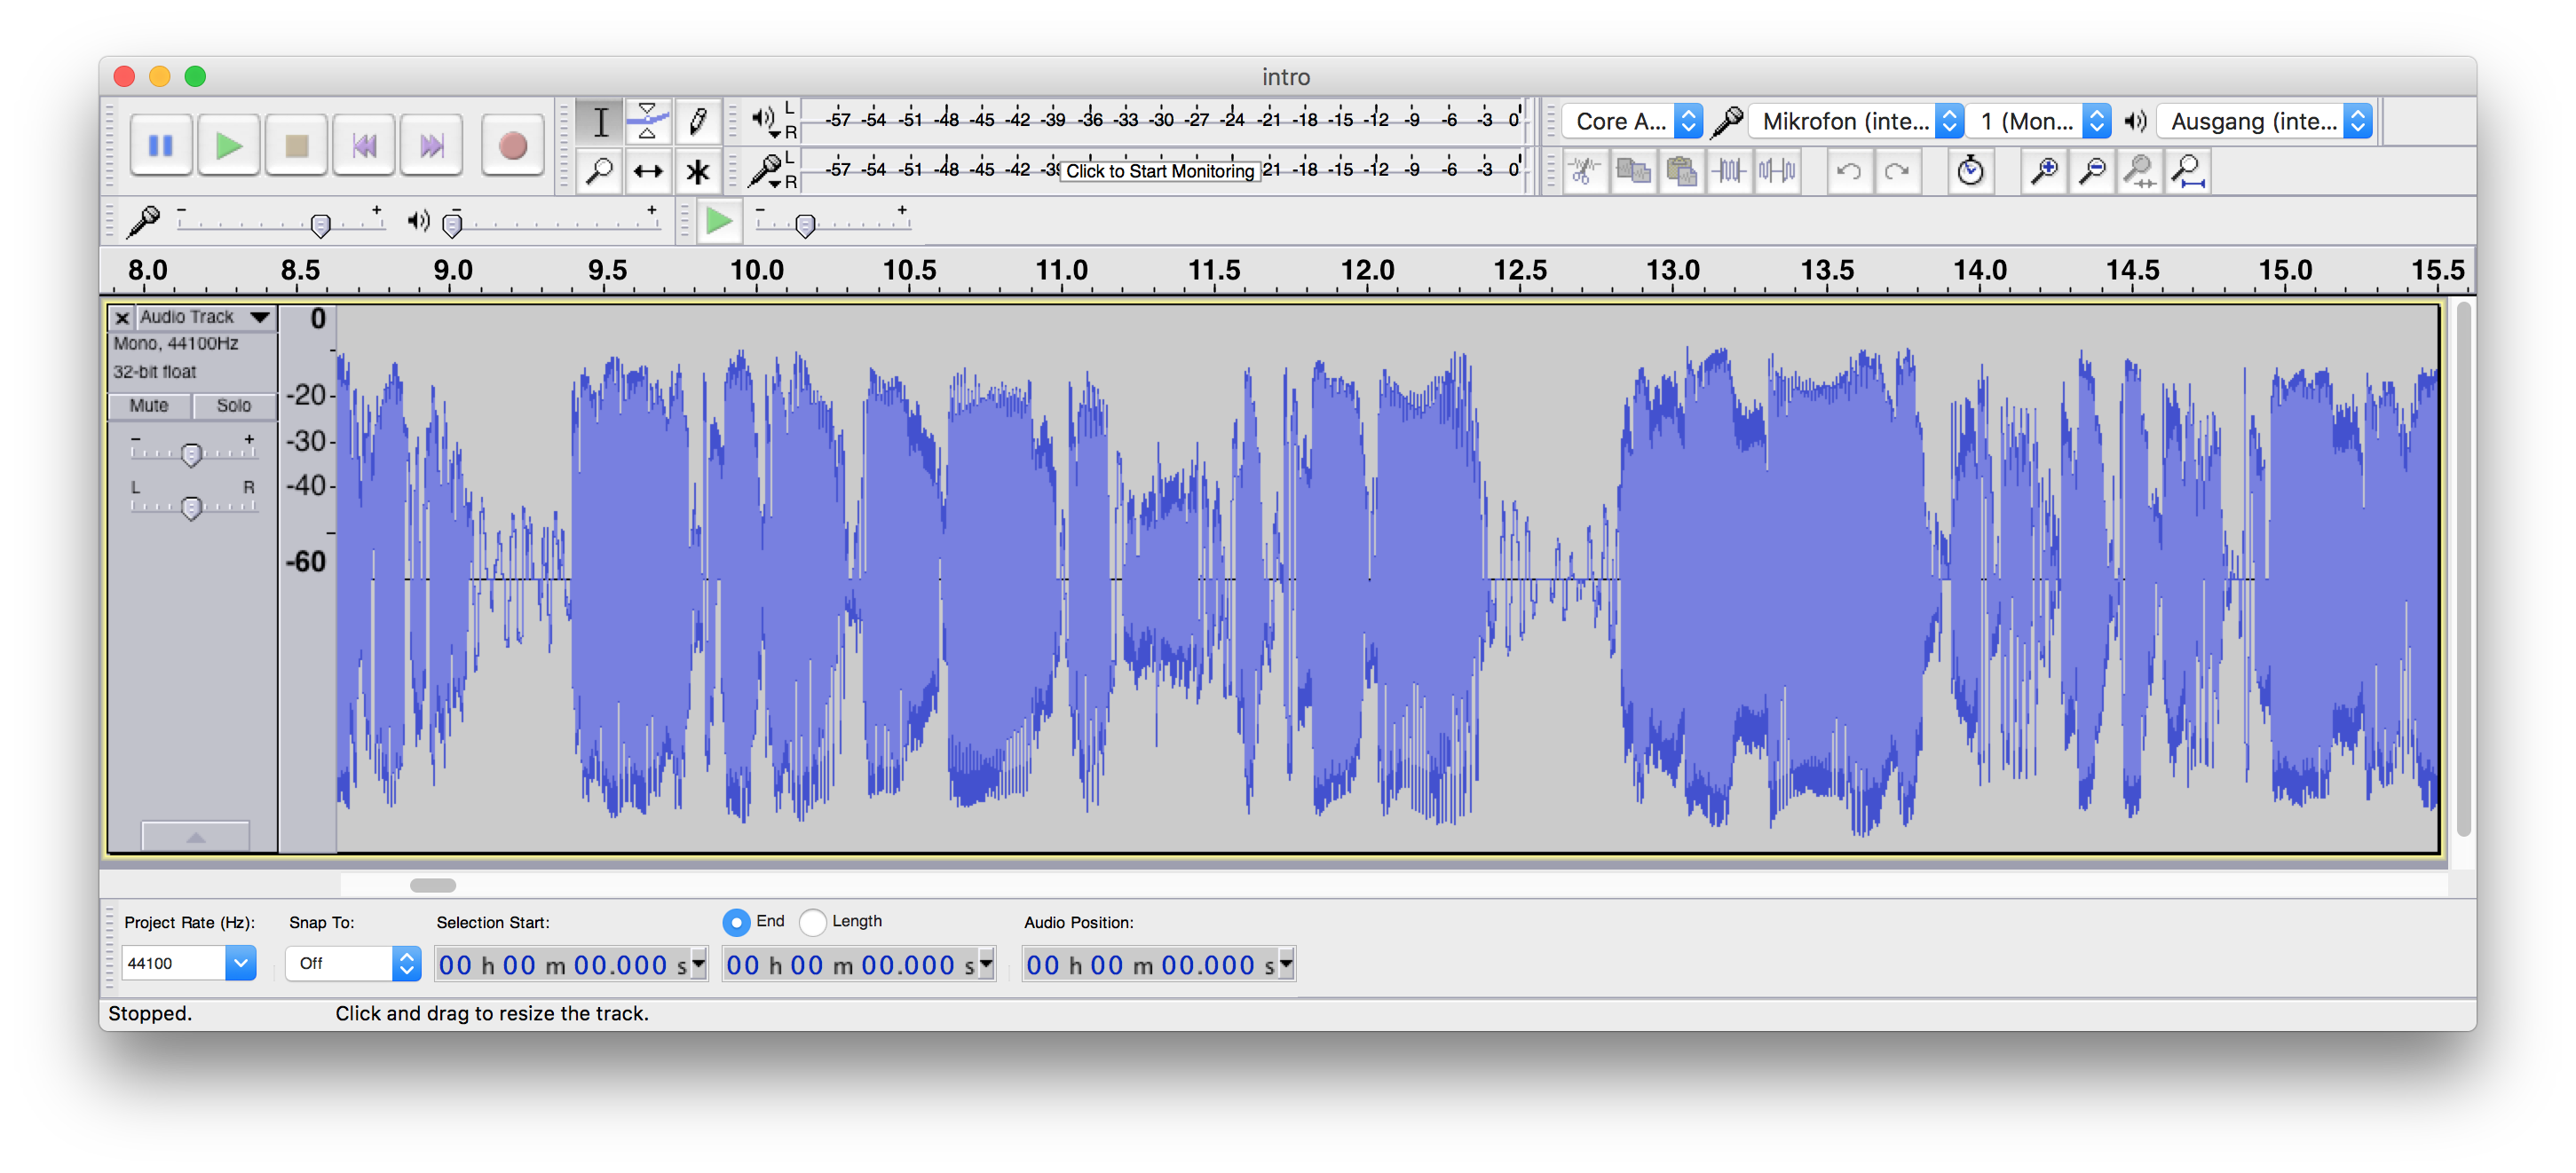
Now to record audio, I use only one tool: Audacity.
Audacity is an open source, cross-platform digital audio workstation.
I’ll be honest, it doesn’t have the most polished of interfaces, but do you need that?
No!
It’s always handled all my audio editing needs without missing a beat.
Want to record in stereo — done!
Want to mix down a stereo track to mono — done!
Need an effect, such as fade ins, fade outs, graphic equalisation, normalisation, compression, levelling, and noise reduction?
Audacity has you covered.
After you’ve gotten your microphone and mixer setup and you’re ready to record:
- Start Audacity
- Click record.
- Record your audio
- Click stop and have a listen
- Trim out the ums, ahs, coughs, and any other unnecessary things which we all do
- Save the file and export it to MP3 or WAV; and
- You’re done!
Audacity — genuinely — makes it that simple.
Once you’ve installed Audacity, here are two articles to get you started:
Total Cost: $0.00
Tools for Recording and Editing Video Content
Software to Record Your Screen (Screenflow)
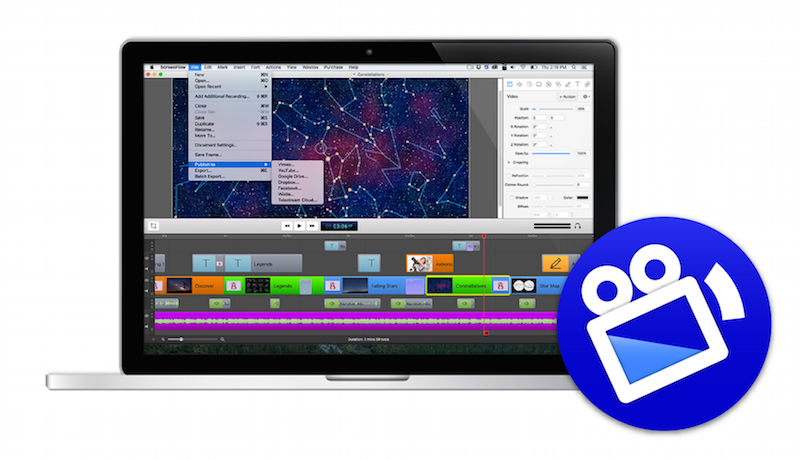
For recording and editing video, I use one app — Screenflow (version 9).
I’ve tried a number of tools, such as Camtasia, but I found that Screenflow has the right mix of functionality and ease of use.
You’re able to record an entire screen, multiple screens, multiple screens + an iOS device, or just a section of a single screen.
You can add transitions, text animations, video animations, freehand annotations, multi-channel audio.
Screenflow can export to animated GIF and PNG, ProRes, MP4, and a whole lot more.
When it comes time to edit, they’re forever improving the way in which you can edit the video and audio timeline.
While I feel they still have room for improvement, especially for keyboard users like myself, they’ve already improved by leaps and bounds.
In addition to getting the essentials right, you can import all kinds of media assets, such as audio and video.
What’s more, at $129 the price is hard to beat.
People may say that you need Camtasia - I disagree.
Give Screenflow a try.
You’ll be hard-pressed to find software as feature-rich, yet as easy to use.
Total Cost: $129.00
A Good Quality Image Editor
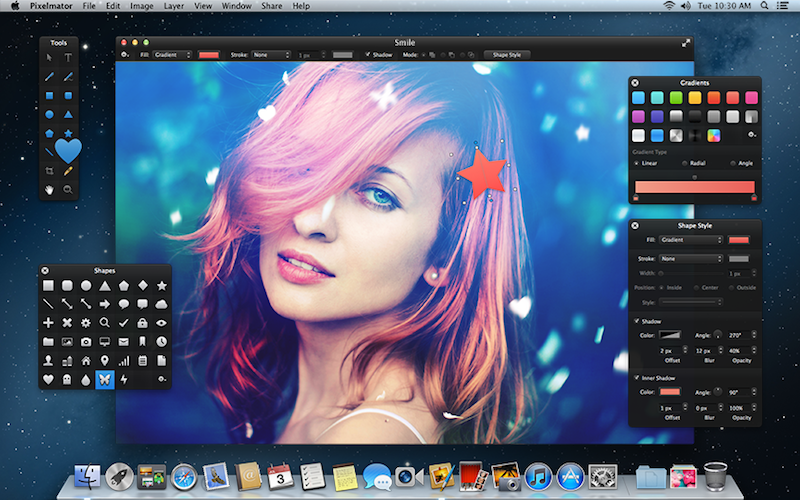
For image editing, I’ve used several tools.
But the ones that I keep coming back to are these:
The combination of these tools makes image editing a breeze.
I’m no image professional, in that I can create fantastic images that would stun an audience.
But then I don’t have to be.
The images that I create have to teach or convey a point.
They need to communicate information and help the reader learn more efficiently.
Given that, my needs are centered around the ability to crop, resize, and annotate.
For these tasks, these tools more than suffice.
I use Pixelmator for the heavy-load image editing, where I have to add a bit of class and style; whether that’s using some drop shadows, text overlays, and so on.
If I need to crop, resize, rotate, add annotations or highlights, I use Mac Preview.
For a built-in tool, it’s deceptively powerful, and has a very elegant and well thought-out interface.
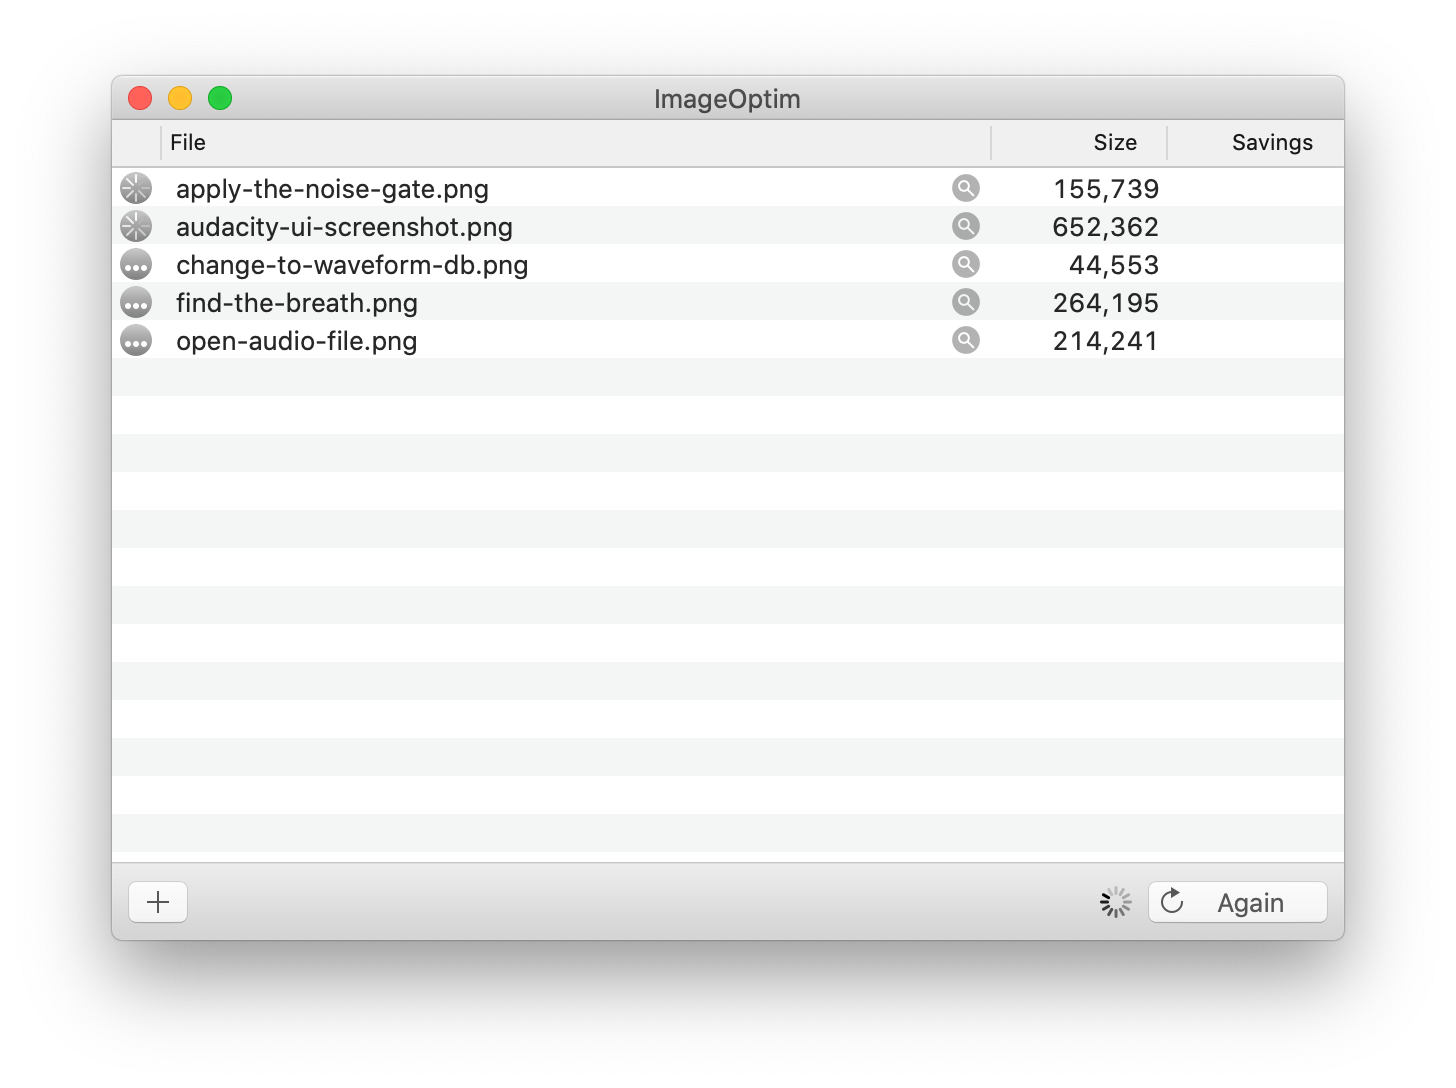
As all the content that I produce is for the web, and bandwidth is still at a premium, I use ImageOptim, OptiPNG, or JpegOptim to optimise images.
Of these, ImageOptim is the simplest.
All you need to do is either open one or several images with it or open the app and drop them on it.
From there ImageOptim takes care of reducing the size of the images as much as possible, without reducing the visual quality.
It’s a click and forget setup.
Total Cost: depends on the app choice combination
Tools for Writing Blog Posts
MacVim

This is where I have the most experience and the area where I’ve spent the most amount of time experimenting and testing.
The result of all that experience is that I use a combination of, again, just a few apps.
The powerhouse is MacVim.
At this point, I hear nerds rejoicing and non-nerds asking “what the hell is that?”
MacVim is Vim for the Mac, with a nice-ish UI.
And Vim is the 30+ year veteran text editor which can do almost anything.
Out of the proverbial box, it feels very limited.
But I’ve been, on and off, maintaining an open source repository which helps to make it much more efficient for writing with (and doing some software development).
Thanks to some themes and other configurations, it does a pretty good job of providing all I need to write, yet not putting anything forward which might distract.
Total Cost: $0.00
iA Writer
The next tool, one which I have high praise for is Writer.
Again, this is only available for Mac.
This is a no-nonsense text editor, designed specifically for writing with next to no distractions, but optimised for writing with Markdown.
It’s excellent!
I mostly defer to MacVim, as the power user in me wants what it offers; whether that’s moving anywhere in the document, multiple splits, rapid content updates, or more.
Total Cost: $29.99
Tools for Proofreading Written Content
Grammarly
Now there’s one final tool that I have to mention - Grammarly.
Without Grammarly, the quality of my writing would not be what it is.
If you’ve not used it, definitely give it a try!
Grammarly’s an online service which will check your document’s grammar, contextual spelling, punctuation, sentence structure, and style.
It can also review your document for potential plagiarism and suggest vocabulary enhancements.
I’m not aware of anyone who can write perfectly the first time (even the second or third time).
Grammarly makes the process of reviewing and editing a much less involved task.
Give it a try!
Total Cost: there is a free plan. Otherwise, the cheapest plan is $11.66 per/month
In Conclusion
This is the combination of software and hardware that I use on a regular basis to create online courses, podcasts and blog posts.
There’s not that many of them, and they won’t break your budget if it’s not that large.
Sure, for some people it might hurt a bit.
But then, if you appreciate what you can create with all, or some, of these tools, you’ll quickly make that money back in no time flat.
I’m confident that if you’re serious — you will!
Have I missed anything?
Want to know more about something I’ve covered?
Drop a comment and I’ll do my best to either answer you, or to update the relevant section.


Join the discussion
comments powered by Disqus